Virtual Machine Setup
Virtualization is a topic that comes up a lot on our network and we decided it was about time we did a write up on the subject, instead of hurling our users head first into a technology they know little or nothing about and hope for the best. Virtual Machines, henceforth referred to as VMs have many benefits and allow for any entry level PC to become an entire test lab or isolated system with just a few clicks. What they will not do is create a perfectly secure operating system regardless of what you do. Virtualization is not a security panacea. A poorly configured/updated Linux install is just as likely to be hacked as a Windows or Mac OS.
The procedure for resizing your primary partition and creating a dual boot of your primary OS and Linux can be tedious and without backing up all of your data, could mean losing everything you have on that drive. On top of that, it’s difficult to google the answers to your questions if your network interface doesn’t work and you have to reboot just to get back online and look. With a VM, you can install an operating system on top of your current operating system and run it as if it were any other full screen application. This makes troubleshooting a breeze.
You can install almost any OS inside a virtual machine, but in this document we will go over installing Linux Mint on a Windows host. This guide assumes your CPU supports hardware virtualization.
The idle power lying dormant in even run of the mill computers can be used to efficiently run multiple operating systems running on virtual hardware at the same time with minimal performance hits to the host.
1. Downloading VirtualBox & Linux Mint ISO Image
Although there are long standing commercial options for virtualization, such as VMWare or Parallels, this guide will cover installing a virtual machine inside of Virtualbox. Your computer must support hardware virtualization for VirtualBox, VMWare or any other virtualization tool to work properly. Most modern computers support this, some require you to enable support in the BIOS. Check your motherboard’s manual or do a google search if you’re unsure.
There are versions of VirtualBox for Windows, Mac and Linux. This guide covers installing on Windows, but once installed, the set up is exactly the same. The application looks nearly identical on every OS, so this guide can be used for Mac hosts as well. VirtualBox installs various “virtual adapters” during setup, make sure to allow these components to install. They provide hardware level access that Virtualbox needs. There are several different configurations of Linux Mint available. Each one mostly has to do with what Window Manager (WM) and what CPU architecture it supports. For simplicity’s sake, we’ll be using Linux Mint Cinnamon 32 bit. Visit the Linux Mint Downloads page and click the first link at the top: Cinnamon 32 bit. I highly suggest using the torrent link provided, as the HTTP mirrors are often bogged down and will take a long time to download. Once you have finished downloading the .iso file, note it’s location, as you’ll be using it shortly.
Download Virtualbox here. Click on any image below for a larger view.
2. Creating A Virtual Machine

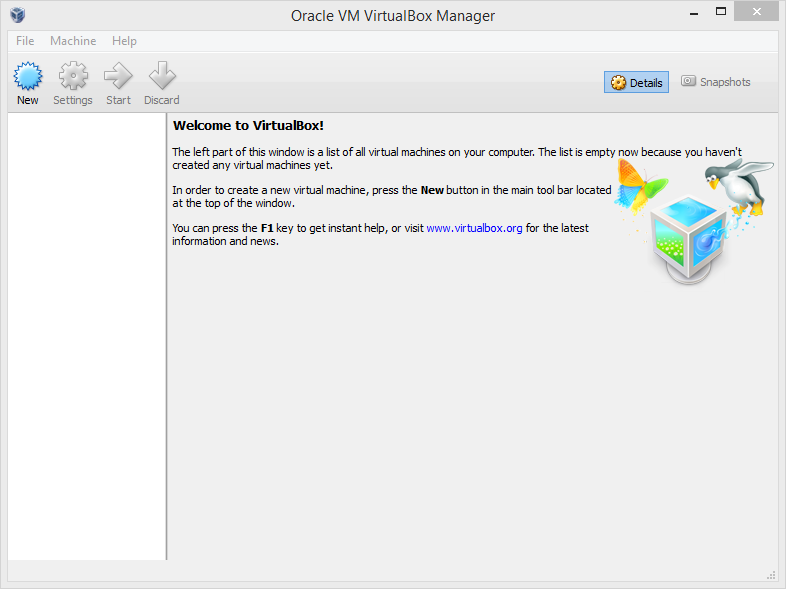
Once you have Virtualbox installed and running, you’ll need to create a new virtual machine. Click on the “New” button in the upper left hand corner to start the wizard.

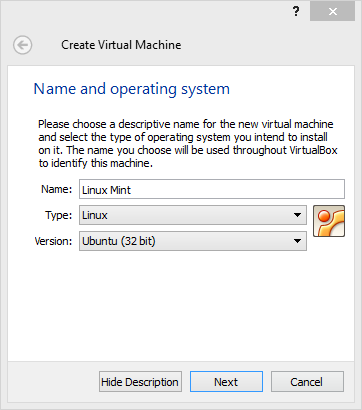
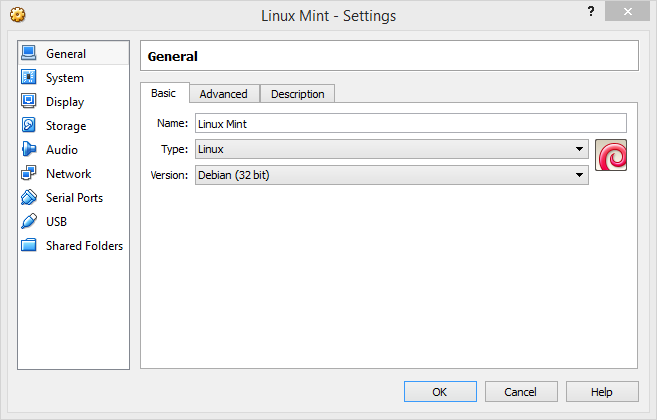
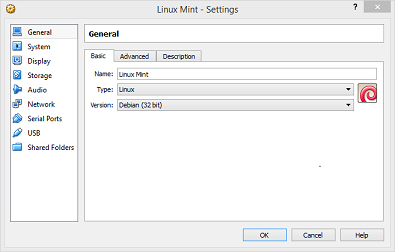
This screen asks you for a name for your VM and to specify the Type and Version of the OS you will be installing. There isn’t an option for Linux Mint, but as it is based on Debian, we’ll be selecting Linux and Debian 32 bit.
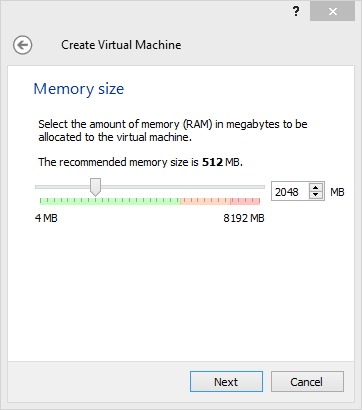
You will then be asked to select how much memory to dedicate to your VM. I have selected 2048MB (2GB) for this guide. I strongly suggest having 4GB or more RAM installed. If too little RAM is left for your host OS, the whole thing will slow to a crawl. If you have RAM to spare, you will benefit from allocating 3-4GB of RAM to your VM. You can always modify these settings later.
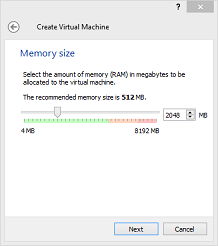
Click next to get to the virtual hard drive section.
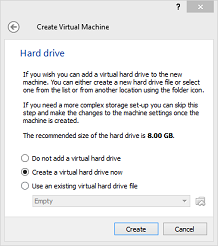
One of the great advantages of a virtual machine is your ability to attach to many different types of virtual disks with operating systems installed and configured on them already. Got a VDI or VDMK file on a different computer or stored on a USB stick? You can attach it here. Select Create a virtual hard drive now and click Create.
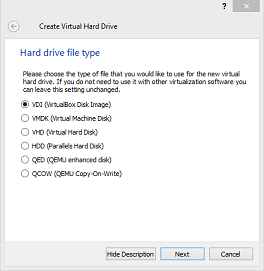
Virtualbox asks what kind of virtual disk to create. We’ll be sticking with the default file type; VDI. Each file type is different and is supported by different virtualization apps. Visit the Virtualbox site for more information on virtual hard drive types. Click next here to move on.
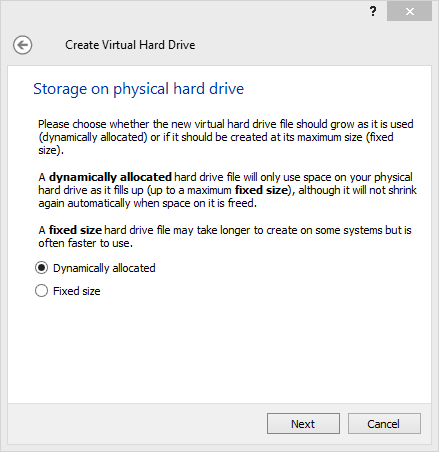
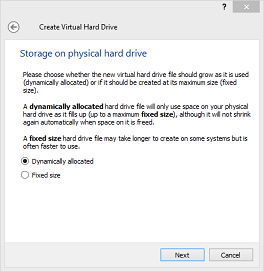
I’ve found dynamically allocated drives to be the easiest to work with. There are some situations where a fixed disk is more appropriate, but for the purposes of this guide we will be using dynamic. Click Next.
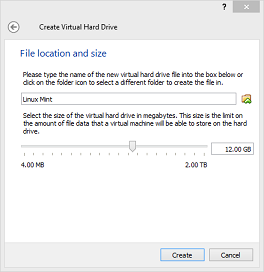
This screen asks you how much space to allocate for your virtual disk file. 12GB is just enough to not worry about space for typical OS stuff. There are several methods for accessing files on your host computer’s hard drive, so there’s no need to have a large disk. If you have the space and want to, you can allocate as much as you want. Browse to a location you’d like to save your VDI file here and click create.

Congratulations! You’ve created a virtual machine. Now you should be back to the Virtualbox home screen with your newly created VM listed on the left. Right click your VM and select Settings, or select it and hit ctrl+s.
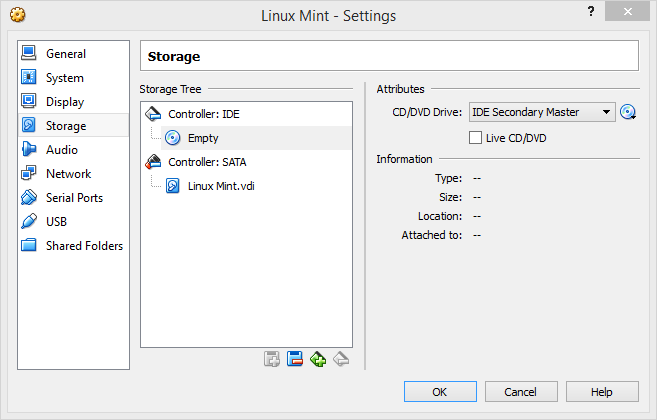
This is where you have complete control over your virtual machine. Do not make any changes in here yet. We need to load the Linux Mint .iso file into the virtual cdrom to begin the install. Click on the Storage icon on the left.
Click on the empty CD icon under Controller: IDE and then click on the other, smaller CD icon on the right hand side next to CD/DVD Drive: IDE Secondary Master. A drop down box will appear, select the first one; Choose a virtual CD/DVD disk file and browse to the linux mint .iso you downloaded earlier and click Open.
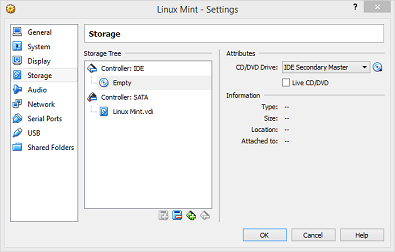
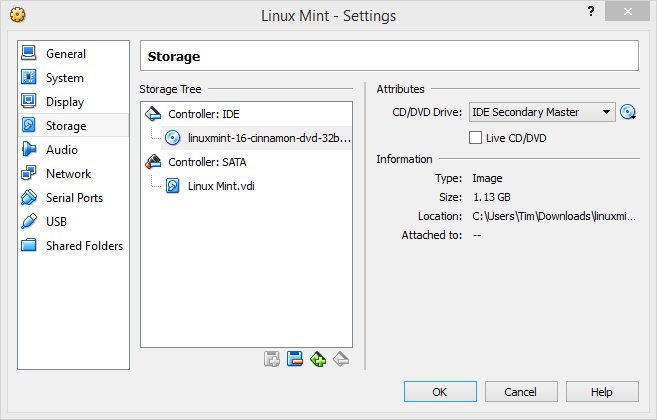
If you did it right, your screen should look like this:

Hit OK to close the settings window, it’s time to boot your new VM.
3. Booting Your Virtual Machine
With your VM selected, click the Start arrow at the top to boot up your virtual machine. The virtual BIOS will load the bootable linux iso you selected in the Settings screen.
You can hit enter here or just wait for it to boot itself.

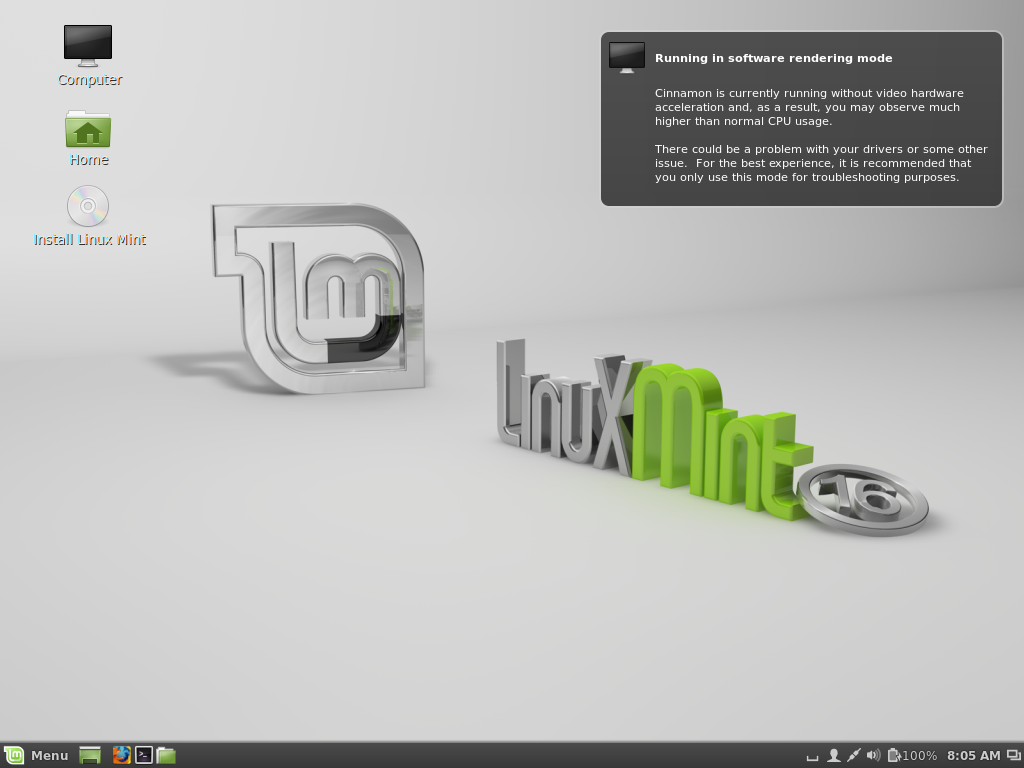
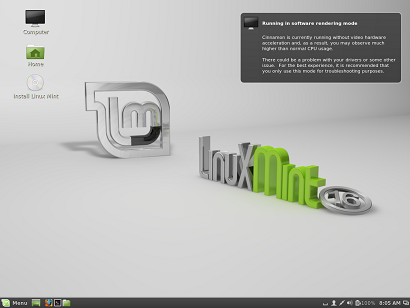
You are now booted into the Linux Mint LiveCD. This is a read-only installation of Linux Mint. That means that it’s using a RAM disk and doesn’t leave any trace on your physical hard drive. Feel free to explore the operating system if you like, but remember any changes you make will be erased when you reboot, so let’s install a real system. Double click on the “Install Linux Mint” icon on the desktop to begin the installation to your virtual hard drive.
This will not modify your host operating system’s hard drive. No need to fret, this OS is separate from your Windows install and will not delete or damage your files during the install.

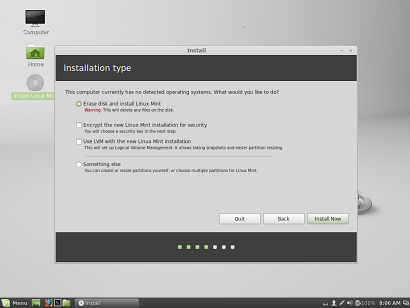
Drive encryption and LVM are beyond the scope of this tutorial. Only select these if you know what you are doing. This can cause your VM to become unbootable. Select Erase Entire Disk and click Install Now. The next few screens will ask you for your location, time zone, language and keyboard encoding. Hopefully you don’t need me for that.
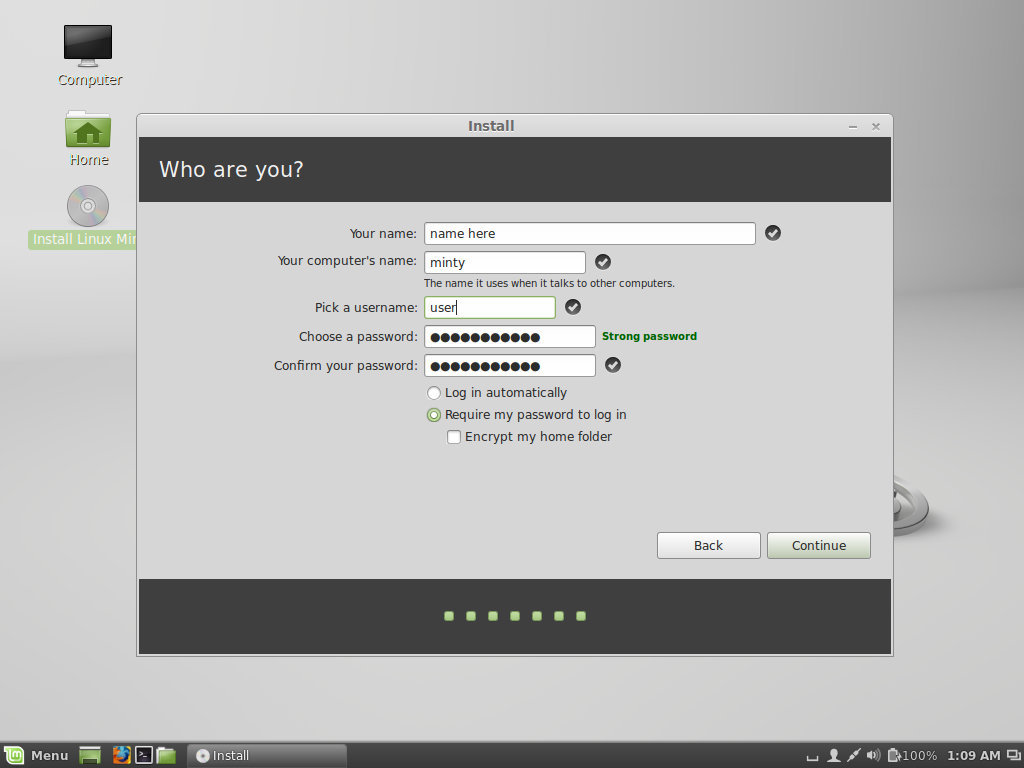
Finally we have the user creation screen. Input your name, computer name, username and password. It’s more secure to require a password. When you have completed this screen click Continue.

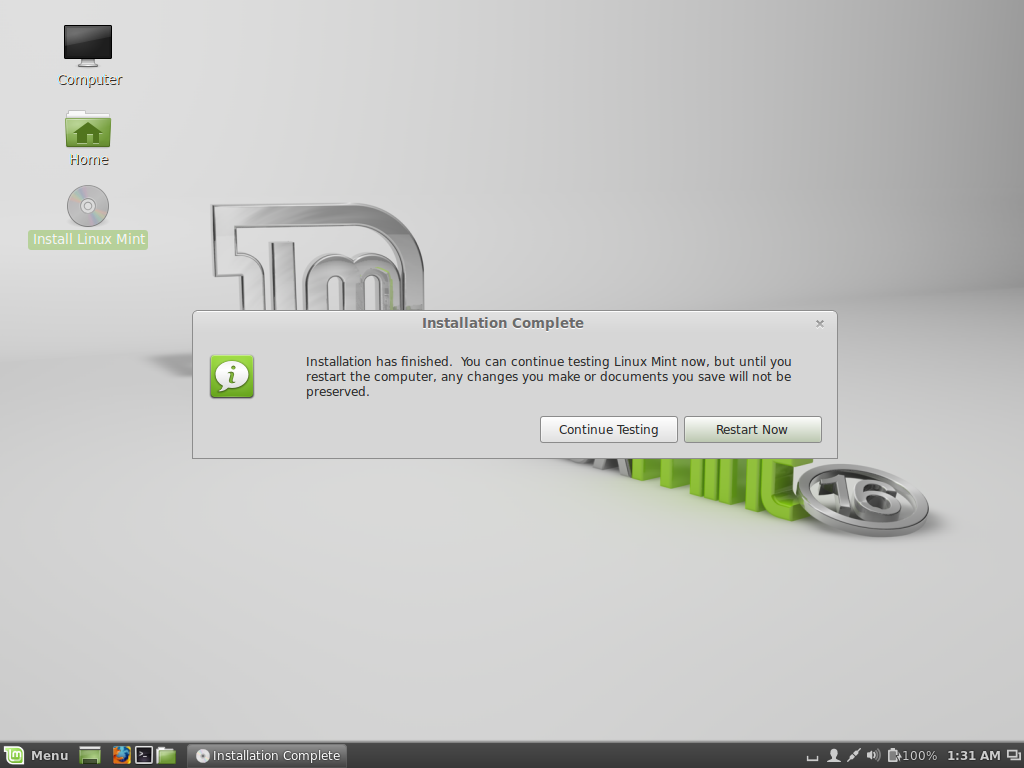
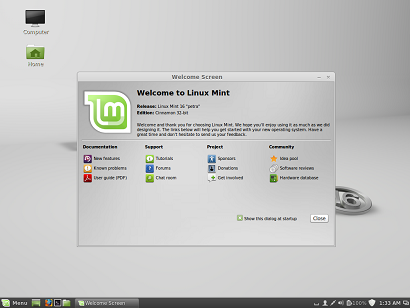
A few screens later and you should be finished! Select restart now to reboot and get started with Linux Mint. No need to remove the iso image from your virtual cdrom, it’s done automatically. You will boot into your finished Linux Mint OS.

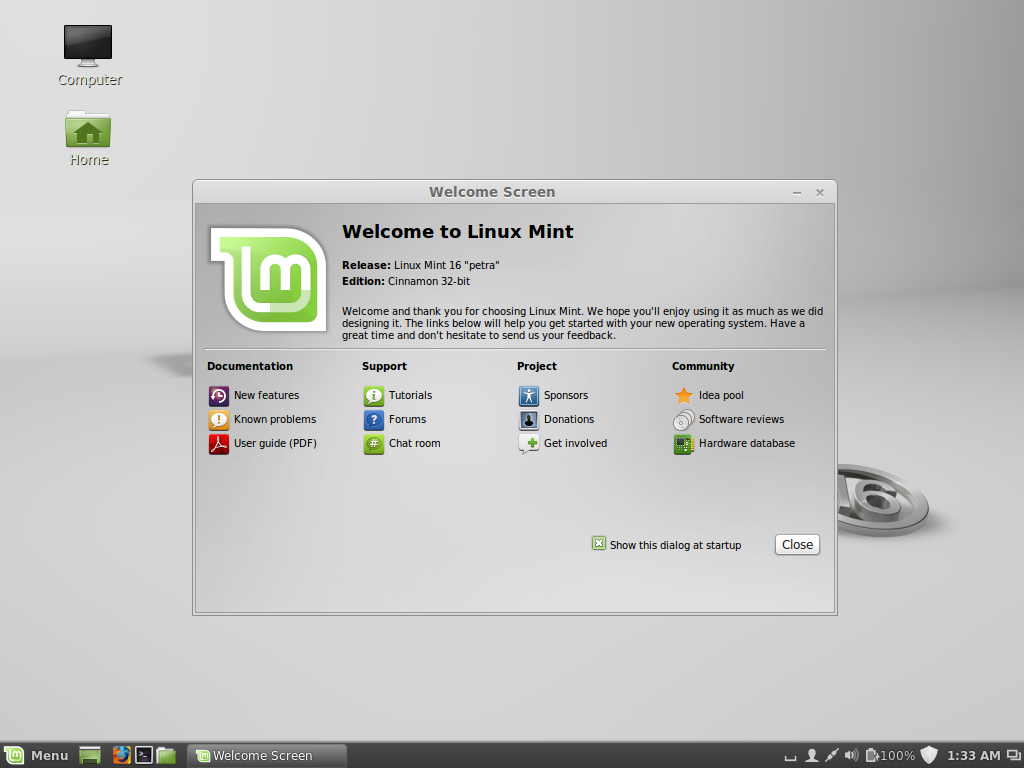
You are now running Linux Mint inside a virtual machine. You can maximize the Window, but will still have borders around your operating system until you fullscreen Virtualbox. You can do so with your host key (default is right ctrl) + f or click on the View menu in Virtualbox (once your VM is running) and select Switch to fullscreen. This will make it look like Mint is running natively and not as an application on your PC.
You are now using Linux Mint. This guide will work for almost any operating system as a guest. Once you have the iso for a supported operating system, be it Windows, Linux or even Mac OS X, you can install it into Virtualbox.
Do you want a comprehensive rundown on Virtualbox? RTFM! It covers every aspect of the program.
Go back to Settings in your VM and:
- Select Display.
- Tick the box that says Enable 3D Acceleration for 3d effects and to get rid of the nag box about software acceleration shown in the screenshot above.
That was a lot of work! Want to skip this whole mess and get right to running a virtual machine? There are pre-packaged Virtual Boxes with many open source operating systems already installed and ready. Visit VirtualBoxes.org for download links to packages.
After decompressing your .VDI file, simply create a new VM in Virtualbox and attach it when it asks you if you’d like to create a virtual hard drive or attach one. Then start it up normally, make sure to note the default passwords used on the VirtualBoxes website.
If you have the hard drive space, you can keep making new VMs with all of your favorite operating systems for the ultimate security testing lab.
Good luck! If you still need help, join #opnewblood from webchat.